
One of the most common search engine phrases that brings people to this blog is “how to make a Vesak lantern” so I’ve decided to post step-by-step instructions. I mean, who better than a half-Jewish white girl from Canada, right?
Vesak is the Buddha’s birthday, enlightenment day and death day and is celebrated on the full moon in May. It’s a big deal in Sri Lanka. We’ve celebrated it there and also here in Toronto. Please keep in mind this is not how my children’s father made his Vesak lanterns. He likes to remind me that they didn’t have bendy straws or twist ties and they had to splinter bamboo sticks and then tie them together with string or flexible rubber bits that they pulled off trees and no he can’t remember what kind of tree.
There are lots of styles of Vesak lanterns. We’re making this kind:

Credit for all techniques goes to my mother-in-law who made that one when we were all in Berlin back in 2009.
Materials:
- bendy straws
- twist ties or string
- cardboard
- tissue paper
- scissors
- glue
- tape
- wire or string to hang the lantern
- small candle that will stand up on its own (like a votive or a tea-light)
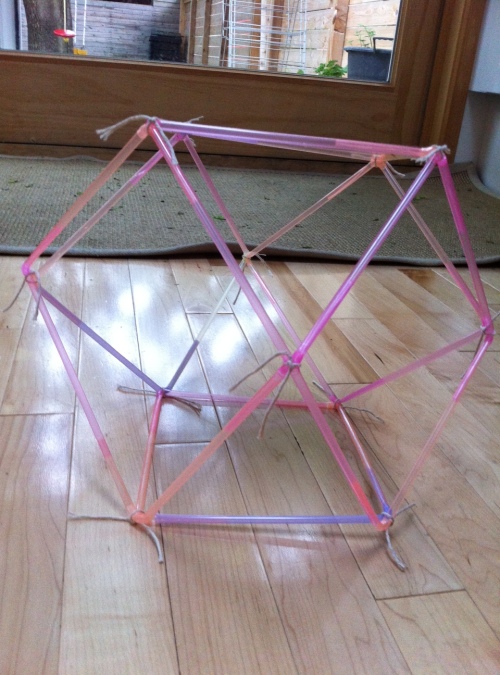
Take four straws and bend them 90 degrees. Squish the shorter end and insert it into the longer end of the next straw to form a square. Do this six times to make six squares.

Using twist ties or string, attach four of the squares together at the corners to form a ring:
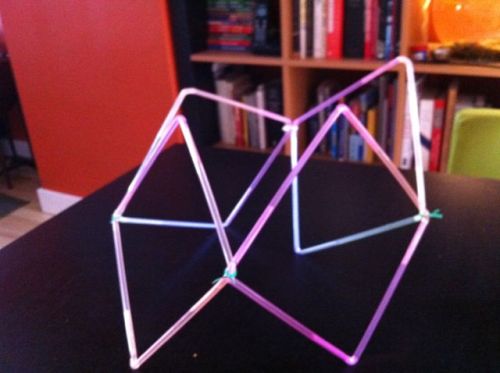
Then attach one square to the top and one square to the bottom by tying (or twist-tying) all four corners.
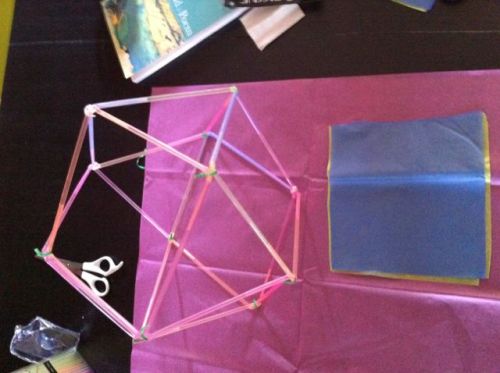
Now cut a cardboard rectangle to fit inside one of the straw-frame squares. This is going to form the bottom of your lantern where the candle is going to sit. Tape it in place. Don’t let the cardboard extend beyond the straws because that will get in the way of the tissue paper that we’re glueing on next.

Now cut four squares and eight triangles of tissue paper. Measure out the first square and triangle by placing the straw frame on the tissue paper and tracing the outside of the shape. Make your tissue squares and triangles just a bit bigger than the straw frame but not much. You only need enough at the edges to wrap about half-way around the straws. Alternate your colours however you like.
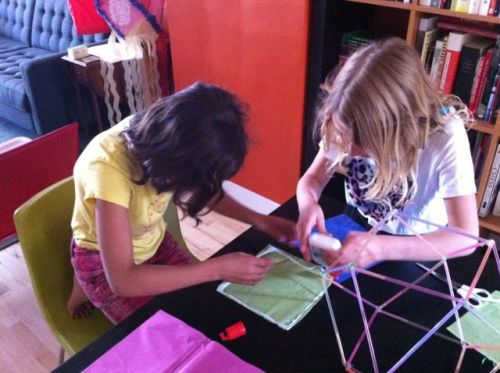
Put glue around the edge of your square or triangle and glue it on to the straw frame. I find that liquid white glue works better than glue sticks. It’s a bit wet and messy but it holds well once it dries. And this year I didn’t even have to do it because my kid and her friend now have enough manual dexterity and perfectionist tendencies to manage it themselves!


Make sure not to tissue over the top: guaranteed to send your lantern up in smoke. Once all your tissue paper is in place, your lantern is constructed and now we move on to decorations!
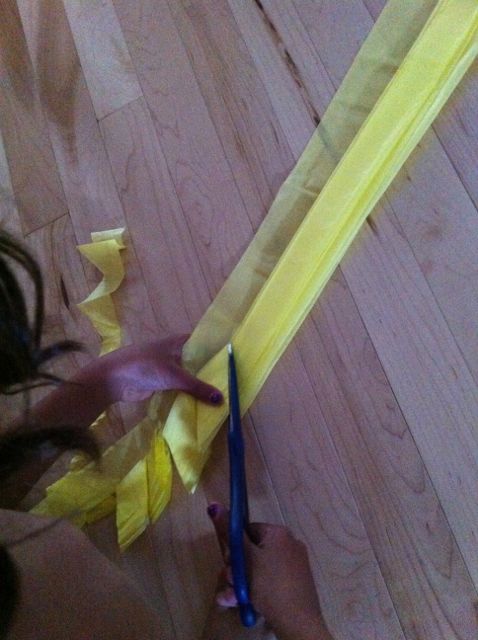
To make a frill around the bottom of your lantern, fold a piece of tissue paper like a fan, leaving a band unfolded at the top. Then, holding your scissors at an angle, cut into the folded portion at about 3 cm intervals. Don’t cut into the band at the top.
Next, unfurl! This very dramatic trick shocked me at the ripe old age of 34 when I first saw my mother-in-law gently shake out a banner of zig-zagged tissue fringe. Am I the only one who missed this trick back when I fan-folded every piece of paper I came across? Am I? When you cut on an angle you get zig-zagged fringes! I had no idea.
Glue your dramatic zig-zagged fringe around the bottom of your lantern. Poke two small holes in the tissue near the top and make a handle out of wire or not-so-flammable string to hang the lantern.
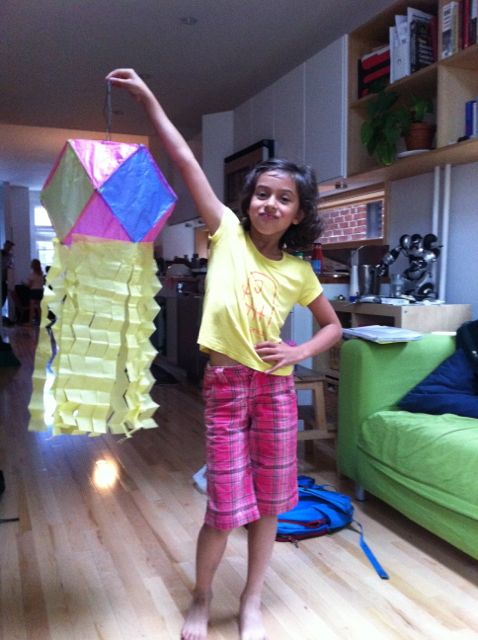
You’re done! Unless you like more decorations. If you do, you can add tissue paper ruffle along all the seams to hide the tissue overlap and glue blobs. Just cut a strip of tissue paper and glue it scrunchily (that’s a word) along the seam. You can also cut out snowflakes to enhance the sides and tape or glue them on. We haven’t done that yet but you can see the scrunchies and the snowflakes on the finished lantern at the top of this post.
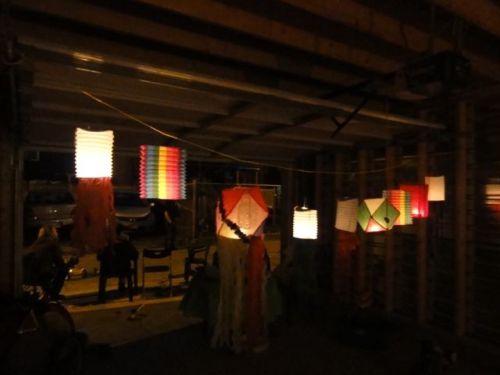
Put a candle on the base, wait for it to get dark and light ’em up! (The cylindrical lanterns are from the dollar store. It takes too long to hand-make enough lanterns for a good display. Don’t judge me).
Happy Vesak!

Thank you for helping us make a Vesak lantern. We were feeling nostalgic for our kids’ first home and getting ready for a school presentation. You helped us step by step. Thanks a million!!
My pleasure! I’m glad it worked for you. Happy (early) Vesak!
this has been so useful! and love how you write your blog, info-tainement! Happy Vesak!
Thanks! We tried a different construction method this year – with wooden skewers instead of straws. It was much harder but did make a more sturdy lantern…
Happy Vesak!